A language-selection dialog is displayed the first time the camera is turned on. Set up the camera as described below (you can reset the clock or change languages at any time using the [DATE/TIME] or [ ] options in the setup menu).
Using the Selector
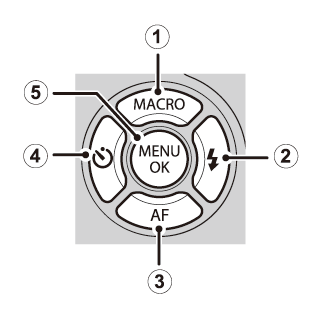
Press the selector up, down, left, or right to highlight items and press [MENU/OK] to select.

 Move cursor up
 Move cursor right
 Move cursor down
 Move cursor left
 Select highlighted item
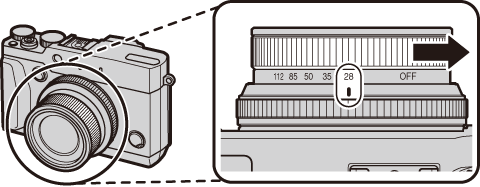
Turn the camera on.

Highlight a language and press [MENU/OK].
Press [DISP/BACK] to skip the current step. Any steps you skip will be displayed the next time the camera is turned on.
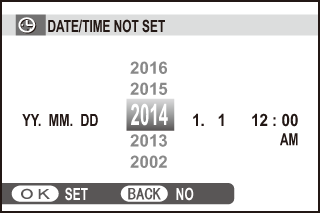
The date and time will be displayed. Press the selector left or right to highlight the year, month, day, hour, or minute and press up or down to change. To change the order in which the year, month, and day are displayed, highlight the date format and press the selector up or down. Press [MENU/OK] when settings are complete.

Power management options will be displayed. Press the selector up or down to highlight one of the following options and then press [MENU/OK]:
If the battery is removed for an extended period, the camera clock will be reset and the language-selection dialog will be displayed when the camera is turned on.