
 .
.Uploading Files to Frame.io
Upload files to Frame.io.
Confirm that the camera clock is set to the correct time and date before proceeding.
Connecting via Wireless LAN
Connect to Frame.io via wireless LAN.
-
Select NETWORK SETTING in the network/USB setting menu.
-
Select NOT CREATED.

You can also select or edit existing network.
-
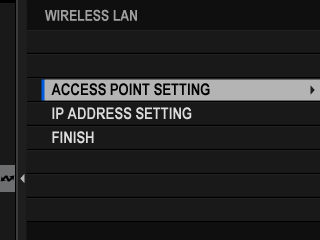
Select ACCESS POINT SETTING.
Select IP ADDRESS SETTING to choose the IP address manually as described in “Connecting Using an IP Address”.
-
Select SIMPLE SETUP.
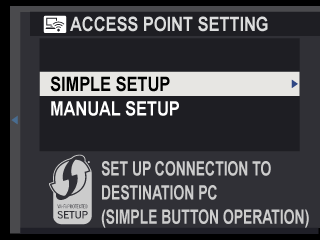
To select a wireless LAN router or enter the router SSID manually, choose MANUAL SETUP.
-
Follow the on-screen instructions to ready the wireless LAN router.
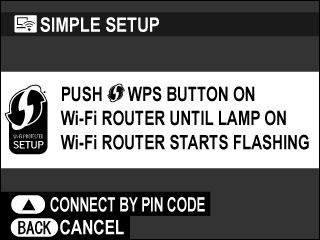
You also have the option of connecting using a PIN. Display the camera PIN by pressing the focus stick (focus lever) up and enter it on the wireless LAN router.
-
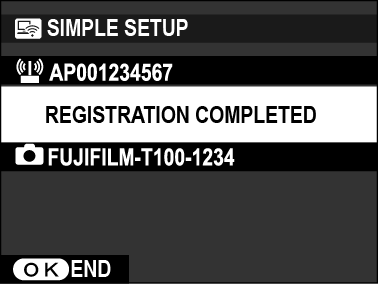
Press MENU/OK when setup is complete.
-
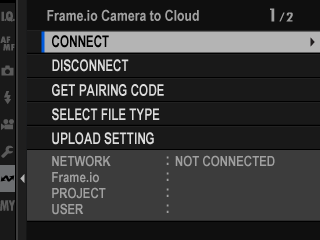
Select Frame.io Camera to Cloud > CONNECT in the network/USB settings menu.
-
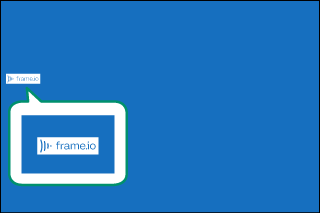
Once connected, select GET PAIRING CODE.
A pairing code will be displayed.
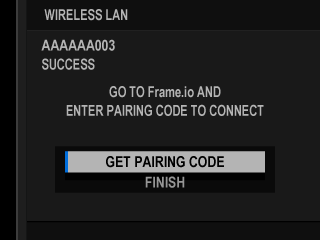
-
Sign in to Frame.io from a computer or other device and enter the pairing code displayed on the camera.
-
Upload files to Frame.io (aUploading Items to Frame.io).
Connecting Using an IP Address
Connect to Frame.io using a manually-created network/USB setting profile giving the IP address and other network settings.
-
Select MANUAL.
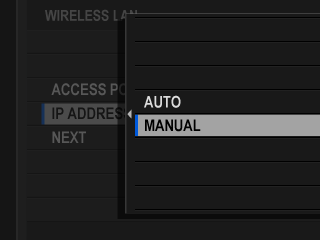
Select AUTO to assign the camera an IP address automatically.
-
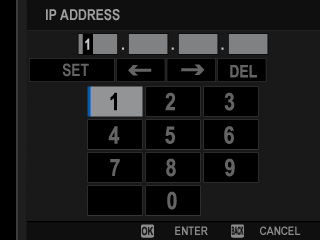
Enter an IP address.
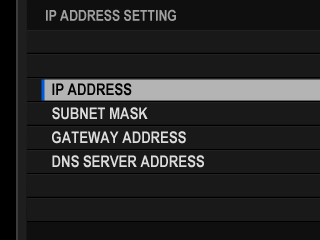
Select IP ADDRESS and enter an IP address.
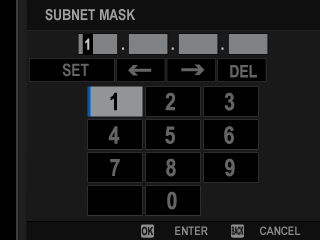
Select SUBNET MASK and enter a subnet mask.
Select GATEWAY ADDRESS and enter a gateway address.

Select DNS SERVER ADDRESS and enter a DNS server address.

Connection Status
The status of the connection to Frame.io is shown by an icon in the electronic viewfinder or LCD monitor.
| Icon | Connection status |
|---|---|
|
(white) |
Connected to Frame.io. |
|
(amber) |
Camera has temporarily suspended upload to Frame.io. To resume, select Frame.io Camera to Cloud > UPLOAD SETTING > TRANSFER/SUSPEND > TRANSFER. |
|
(gray) |
Not connected to Frame.io. |
|
(red) |
Frame.io server has set camera status to “paused”. To restore connection, clear “paused” status using computer or other device. |


Uploading Items to Frame.io
Uploading Selected Items Using “Frame.io Camera to Cloud”
-
Select Frame.io Camera to Cloud in network/USB settings menu.
-
Select UPLOAD SETTING > SELECT IMAGE & TRANSFER.
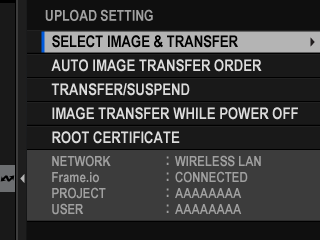
The NETWORK and Frame.io field show the status of the connection to Frame.io.
The PROJECT and USER fields show information supplied to Frame.io using a computer or other device. Note that some characters may not display correctly, in which case they will be replaced by question marks (“?”).
-
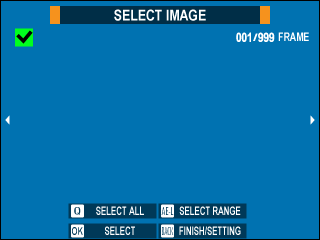
Mark items for upload.
Highlight photos and movies and press MENU/OK to mark them for upload.
- To switch to the memory card in the other slot or display only items that meet selected criteria, press DISP/BACK before marking begins.
- To select all items, press the Q button.
- Selecting any two items with the AEL button also selects all items between them.
-
Press DISP/BACK and select START TRANSFER.
The selected items will be uploaded to Frame.io.
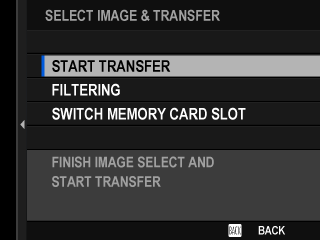
Filtering Items/Choosing a Slot
To switch to the memory card in the other slot or display only items that meet selected criteria, press DISP/BACK in the selection dialog.
- To display only items that meet selected criteria, choose FILTERING.
- To switch to the memory card in the other slot, choose SWITCH MEMORY CARD SLOT.
![]()
Switching slots or changing the filter criteria removes any existing upload marking.
Image transfer orders can contain a maximum of 9999 items.
If ON is selected for Frame.io Camera to Cloud > IMAGE TRANSFER WHILE POWER OFF, upload will continue even while the camera is off.
Uploading Photos and Movies as They Are Taken
Photos and movies shot with ON selected for Frame.io Camera to Cloud > UPLOAD SETTING > AUTO IMAGE TRANSFER ORDER in the network/USB setting menu are automatically marked for upload.


