
 .
.Tethered Photography
The camera can be controlled remotely and photographs taken from a computer connected via USB or wireless or wired LAN.
You will need an FT-XH file transmitter when performing tethered photography via wired LAN.
- Tethered Photography via USB
- Tethered Photography via Wireless LAN
- Tethered Photography via Wired LAN (Ethernet)
Tethered Photography via USB
Connect the camera to a computer via USB for tethered photography.
-
Select either [AUTO] or [POWER SUPPLY OFF/COMM ON] for [USB POWER SUPPLY/COMM SETTING] in the network/USB setting menu.
-
Choose either [3: USB TETHER SHOOTING AUTO] or [4: USB TETHER SHOOTING FIXED] for [SELECT CONNECTION SETTING].
if [3: USB TETHER SHOOTING AUTO] is selected, tethered photography will be enabled automatically when the computer to which the camera is connected is turned on. When the computer is off or not connected, tethered photography will be suspended and pictures will be saved to the camera memory card.
If the camera is disconnected from the computer while [4: USB TETHER SHOOTING FIXED] is selected, it will continue to function in tethered mode and no pictures will be recorded.
-
Connect the camera to the computer via USB and then turn the camera on (aConnecting the Camera and Computer).
-
Take pictures via tethered photography.
Use software such as “Adobe Lightroom Classic + FUJIFILM Tether Shooting Plug-in” or “FUJIFILM X Acquire”.
For more information on tethered photography, visit the website below.
Visit the website below for information on the software used.
Tethered Photography via Wireless LAN
Connect to a wireless LAN to use a computer on the network for tethered photography.
Connect an FT-XH file transmitter for wireless LAN connection speeds faster than are available with the camera alone.
-
Select [CREATE/EDIT CONNECTION SETTING] > [CREATE USING WIZARD] in the network/USB setting menu and choose [TETHERED SHOOTING] (aNetwork/USB Setting Menus).
-
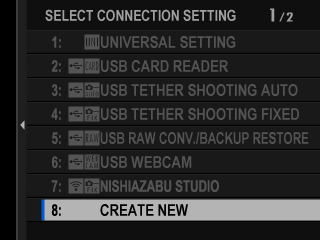
Select [CREATE NEW].
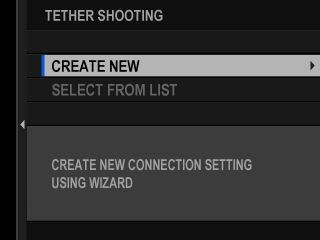
Choose [SELECT FROM LIST] to select from a list of existing connection setting profiles.
-
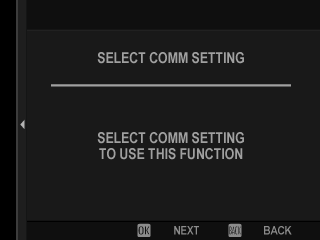
Press [MENU/OK] when prompted.
-
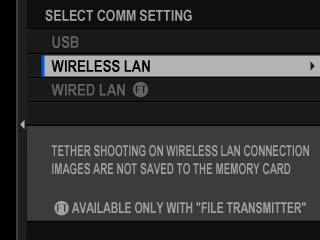
Select [WIRELESS LAN].
-
Select [CREATE NEW] to create a new communication setting profile.
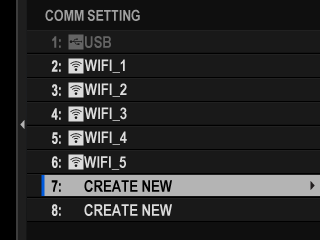
You can also select or edit existing profiles.
-
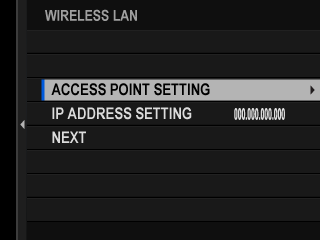
Adjust wireless LAN settings.
- [ACCESS POINT SETTING]: See “Simple Access Point Connections”.
- [IP ADDRESS SETTING]: See “Connecting Using an IP Address”.
-
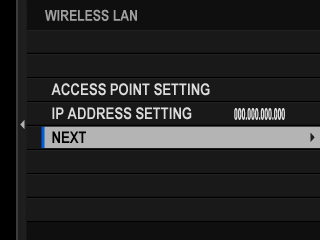
After adjusting wireless LAN settings, select [NEXT].
-
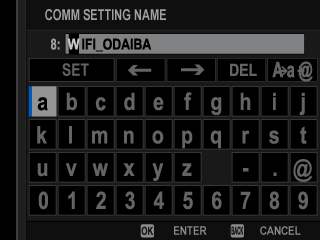
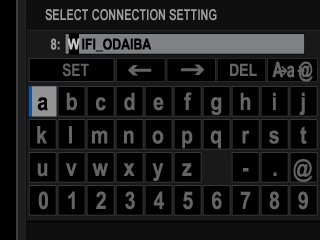
Name the communication setting profile.
-
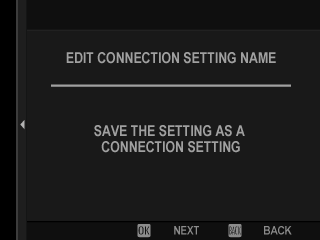
Save the connection setting profile.
Press [MENU/OK].
-
Select [CREATE NEW].
-
Name the connection setting profile.
-
Choose [SELECT].
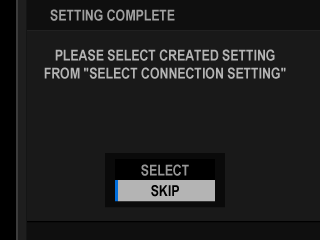
The connection setting profile can also be selected later using [SELECT CONNECTION SETTING].
-
Take pictures remotely from the computer.
Use software that supports tethered photography.
For more information on tethered photography, visit the website below.
Visit the website below for information on the software used.
Simple Access Point Connections
Connect to a computer for tethered photography using the simple setup feature on your wireless LAN router.
-
Select [SIMPLE SETUP].
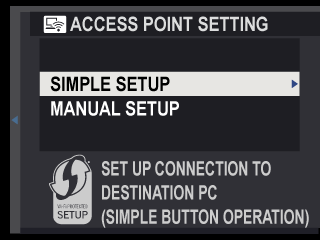
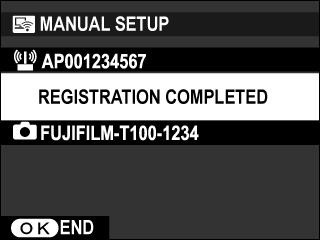
To select a wireless LAN router or enter the router SSID manually, choose [MANUAL SETUP].
-
Follow the on-screen instructions to ready the wireless LAN router.
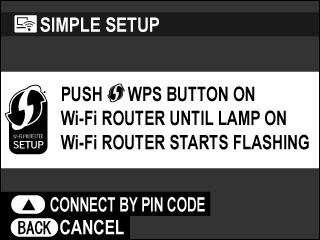
You also have the option of connecting using a PIN. Display the camera PIN by pressing the focus stick (focus lever) up and enter it on the wireless LAN router.
-
Press [MENU/OK] when setup is complete.
Connecting Using an IP Address
Connect to a computer for tethered photography using a manually-created network/USB setting profile giving the IP address and other network settings.
-
Select [MANUAL].
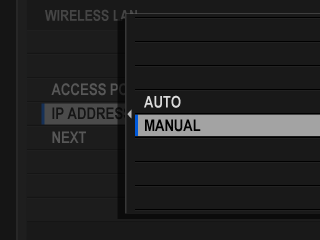
Select [AUTO] to assign the camera an IP address automatically.
-
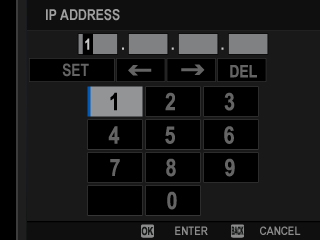
Enter an IP address.
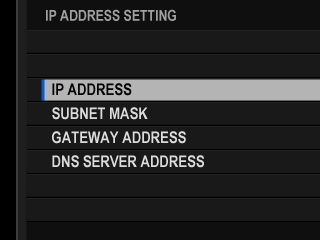
- Select [IP ADDRESS] and enter an IP address.
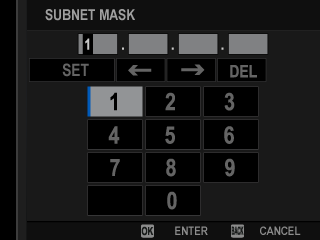
- Select [SUBNET MASK] and enter a subnet mask.
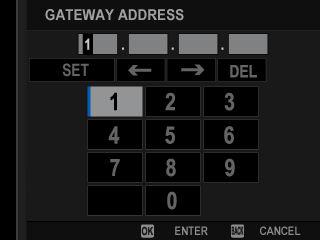
- Select [GATEWAY ADDRESS] and enter a gateway address.
- Select [DNS SERVER ADDRESS] and enter a DNS server address.

Tethered Photography via Wired LAN (Ethernet)
Attach an optional FT-XH file transmitter to connect to wired LANs (Ethernet networks) for tethered photography using network computers.
-
Connect to the wired LAN by plugging an Ethernet cable into the file transmitter’s LAN connector.
-
Select [CREATE/EDIT CONNECTION SETTING] > [CREATE USING WIZARD] in the network/USB setting menu and choose [TETHERED SHOOTING].
-
Select [CREATE NEW].
Choose [SELECT FROM LIST] to select from a list of existing connection setting profiles.
-
Press [MENU/OK] when prompted.
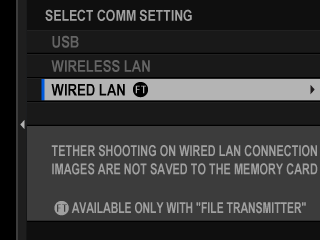
-
Select [WIRED LAN].
-
Select [CREATE NEW] to create a new communication setting profile.
You can also select or edit existing profiles.
-
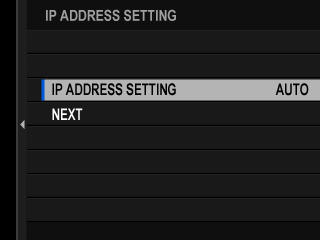
Adjust [IP ADDRESS SETTING].
- Select [AUTO] to use an IP address assigned by the network.
- Select [MANUAL] to choose the IP address manually as described in “aConnecting Using an IP Address”.
-
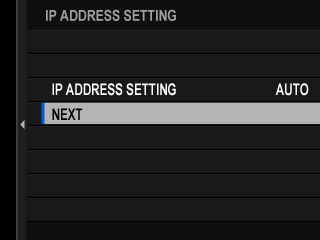
Select [NEXT] to proceed after adjusting IP address settings.
-
Name the communication setting profile.
-
Save the connection setting profile.
Press [MENU/OK].
-
Select [CREATE NEW].
-
Name the connection setting profile.
-
Choose [SELECT].
The connection setting profile can also be selected later using [SELECT CONNECTION SETTING].
-
Take pictures remotely from the computer.
Use software that supports tethered photography.
For more information on tethered photography, visit the website below.
Visit the website below for information on the software used.


